Wellington boots are sold by shoe size, which tells you almost nothing about whether they will actually fit. Two people who both take a UK 6 can have calves that differ by five centimetres, and a boot that slides onto one will refuse to go past the ankle on the other. The two measurements that matter most — calf circumference and shaft height — take five minutes to collect with a soft tape measure and a mirror. Get them right and you can stop guessing at sizing charts.
Why calf fit matters more than most buyers expect
A wellington that's a centimetre too tight around the calf doesn't just feel snug. It fights you every time you pull it on, presses on the widest part of your leg as you walk, and — because it restricts circulation — can leave your feet colder than a looser boot would. Too loose is its own problem: your heel lifts with every step, the boot chafes, and thick mud has a habit of sucking a poorly fitting wellie right off your foot.
There's a third variable people forget. Legs change. Feet and calves swell slightly through the day, again in warm weather, and again after a long walk. Thick winter socks add another centimetre or so. Measure in the afternoon, in the socks you plan to wear, and treat that number as your baseline.
What you'll need
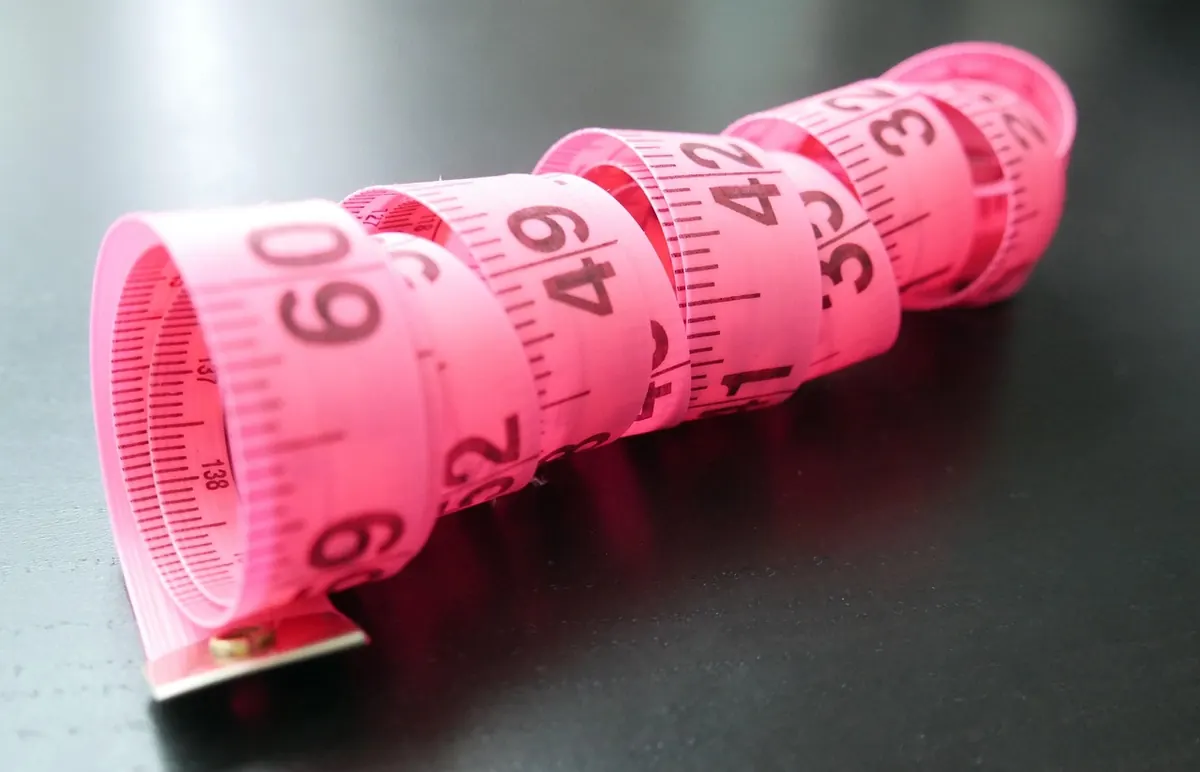
- A flexible tape measure — the fabric kind sold for sewing. If you only have a builder's tape, wrap a piece of string around your leg and measure the string against a ruler.
- A mirror, or someone to read the tape for you. Bending over to check a measurement around your own calf almost always shifts it.
- The trousers or leggings you'd wear with the boots, plus your usual boot socks.
- A chair and a phone or notebook for the numbers.
Step one: measure calf circumference
This is the number most listings call "calf width" or "calf circumference".
- Stand up straight with your weight spread evenly across both feet. Sitting down changes the shape of the calf muscle and gives you a reading that's too small.
- Find the widest point of your calf. It's usually about a third of the way down from the crease behind your knee towards your ankle, but it varies — some people carry more bulk higher up, some lower.
- Wrap the tape around that point, keeping it level all the way round. A tape that slopes reads larger than your true measurement.
- Snug, not tight. The tape should sit against your leg without pressing a dent into the skin.
- Read the figure in a mirror, or have someone else read it while you stand normally.
- Measure both legs and note the larger figure. Half a centimetre of difference between legs is normal; size for the bigger one.
Then add a little room. A boot whose calf measurement matches yours exactly will be a struggle to pull on and off, and will feel tight over a sock. Aim for roughly one to two centimetres of extra circumference — enough to slide in easily, not so much that the boot swings.
Step two: measure shaft height
Shaft height is the distance from the ground to the top edge of the boot. To work out what suits your leg:
- Stand barefoot or in socks on a hard floor.
- Hold the tape at the floor beside the inside of your leg and run it straight up the calf to just below the crease at the back of your knee.
- Read the number. That's the tallest comfortable shaft for you in a full-length boot.
Why that spot? A boot top that lands right on the knee crease digs in when you walk, especially uphill or on stairs. A few centimetres below the crease keeps the edge clear of the joint while still giving good coverage. If you'd rather wear a shorter boot, measure to wherever you want the top to sit — mid-calf, or just above the ankle — and look for that figure in the specs.
One caution: brands don't all measure shaft height the same way. Some quote it from the top of the sole, some from the floor including the heel. Check the wording before comparing one maker's 38 cm against another's 40 cm. A shaft shorter than your target leaves a gap for rain and splashes to run into; a taller one may press behind the knee.
How to read boot specs
Once you have your two numbers, a product listing becomes much easier to interpret. Look for:
- Calf circumference, usually given at the widest point of the boot. Some brands list a range because the boot is adjustable.
- Shaft height, measured either inside or outside the boot.
- Material. Rubber and PVC barely stretch, so the listed measurement is close to final. Neoprene-lined and leather boots give a little, and a boot with a stretch panel gives more.
- Gusset or adjustability — a back gusset, buckle, elastic panel or laces.
- Linings and insoles. A removable insole or thicker lining changes how much room your foot has, which in turn affects how high the boot sits on your leg.
If your calf measurement sits above the boot's listed circumference and there's no gusset, don't hope it will give. Choose a wide-calf style or a different model.
Adjustable gussets: who they suit and how to set them
A gusset is an expanding panel, usually at the back of the shaft, sometimes covered by a flap and closed with a buckle strap or laces. It typically buys you a few centimetres of adjustment in either direction. That makes gusseted boots a sensible choice if your calves fall between standard sizes, if you switch to thicker socks in winter, or if one calf is noticeably larger than the other.
Full-length gussets adjust the whole shaft; shorter ones only open near the top. More adjustment usually means more places for water to find its way in, so if you're buying for wet work rather than dog walks, check that the gusset has a proper covering flap.
Setting a gusset for a good fit
- Start with the buckle or laces fully loose.
- Pull the boot on, then tighten gradually, working from the ankle upwards.
- Keep the panel roughly even top to bottom. Pulling it tight only at the top creates a pressure band.
- Walk a few steps, climb a stair, squat. Loosen anything that pinches, tighten anything that lets the boot slide.
A quick fit checklist before you commit
Try boots on indoors, on carpet, and keep them on for ten minutes before deciding. Run through this:
- The boot slides on with a firm but unhurried tug — no wrestling, no hopping.
- You can fit a finger between the boot and the widest part of your calf, but not two.
- The top edge sits below the knee crease and doesn't press when you walk or climb stairs.
- Your heel lifts no more than about a centimetre as you walk.
- Nothing tingles, numbs or pinches. If it does, go up a calf size or try another model.
- You can get the boot off without help.
Fit is personal, and your two measurements are only the start — lasts and shapes differ between brands, so treat the sizing chart as a filter rather than a promise. If you have swelling in your legs or feet, diabetes, or circulation problems, or if a boot leaves you with numbness, tingling or lasting marks, speak to a healthcare professional before wearing tight-fitting wellies for long periods.
Measure once properly, write the numbers somewhere you'll find them again, and every future boot purchase gets easier. Most returns, and most uncomfortable pairs, come down to the same two figures — and you now have both.
Photo: marshmallowpanda / Pixabay